
December 1, 2021
Winter Cycling Tips: Keep your bike running smoothly all winter
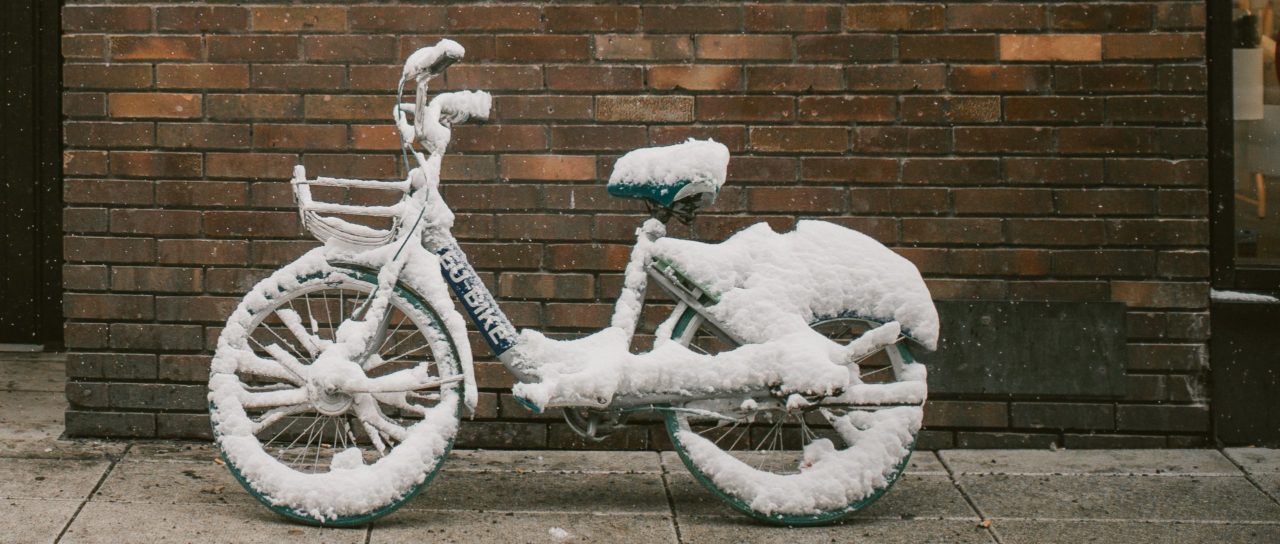
Winter weather can be tough on bikes. There’s more rain and sometimes snow and ice, which brings salt and slush. All this grit and grime can add up and be tough on the moving parts of a bike.
Here are some tips for keeping your bike running well and looking great:
Your chain
If you want to turn your chain into a solid piece of rusty, non-moving (and non-recoverable) metal, the best way to do that is ride it a few times in salty snow slush without cleaning or lubing it (I learned this the hard way a couple of times). Normally, it’s a good idea to clean and lube your chain about once every 100 miles, but salt and sand will act much more quickly to destroy a chain. So, don’t go more than two rides in the salt, snow or slush without cleaning and re-lubing your chain (or just do it before you know you will be riding in some snow or salty slush).
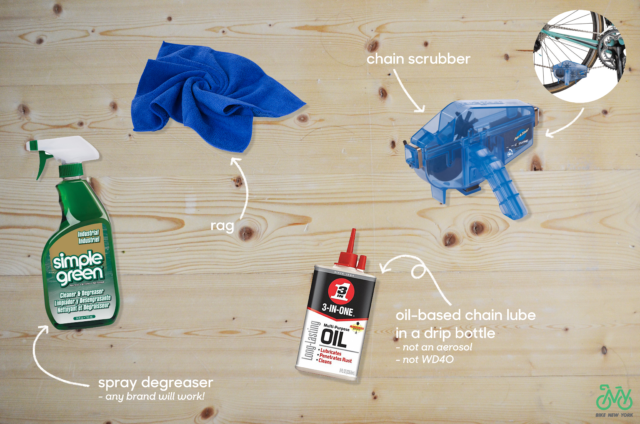
Items you need:
- Spray degreaser (Citra-solve or Simple Green)
- A rag
- Chain lube (oil-based) in a drip bottle, not an aerosol (reasonable substitutes for chain lube include 3-in-1 Oil or Tri-Flow, but not WD-40)
- Park Chain Cleaning tool (optional)
To clean the chain with a cleaning tool (A.K.A. a chain scrubber), fill the tool with the chain cleaning solvent/degreaser of your choice, cycle the chain through the cleaning tool a few times and wipe it down with a rag.
To clean the chain the old fashioned way (which ensures a spotless chain):
- Dry the chain with a rag or use a rag and a spray bottle of degreaser.
- Locate one pin or the connector link and rotate it so that it’s on the “bottom half” of the chain cycle, right behind the chainring.
- Using the rag as a backdrop (so you don’t spray degreaser all over your wheel and tire), spray degreaser on the section of chain between the chainring and the bottom pulley of the rear derailleur.
- Wipe that section of chain down thoroughly, then rotate the next section of chain between the chainring and derailleur pulley.
- Repeat this process until you have degreased and wiped down the entire chain, all the way around.
- Use a second rag to remove additional degreaser and crud, and to dry the chain.
- Also, wipe down both derailleur pulleys with your rag that’s been soaked in degreaser; those pulleys tend to collect a lot of grime.
- Allow the chain some time to dry or use a non-grimey rag to dry it some more.
To lube the chain:
- Using your drip bottle of wet lube, put one drop of oil on each “roller” of the chain, which should be enough. (I usually start at my connector or starter link, and lube the “bottom half” between the chainring and derailleur, rotating the chain section by section until it’s been lubed all the way around. Too much lube, and you’re spraying dirty oily chain spray all over the rear part of your bike, rear-wheel, and your right leg.)
- Rotate the chain slowly a few times through to let the lube work its way inside the chain parts.
- Go ride in the winter wonderland.
Your frame
Clean and polish your frame with wax or bike polish before the first grimy rain rides. It will keep your bike looking nicer since the wax or polish will help shed some of that stuff that would otherwise stick.
Remove accessories like bottle cages, pumps, and racks, which will make it easier to clean and polish the entire frame.
For cleaning, just use a spray bottle of water with a LOT of degreasing dish soap, like Dawn, or a spray like Simply Green. Spray the frame down with a moderate amount of soap, and wipe down with a clean rag. If your frame is already pretty grimey, you may have to use a second rag or use a cleaning brush to knock off excess grit before you start spraying cleaner on your bike. Otherwise, the rag will start collecting that grit and become more like sandpaper and less like a rag. Any soft-bristled household cleaning brushes work well for getting tight corners.
For polishing, you could use car wax or Pedro’s Bike Lust. Clean your rims also! If your rims or brake rotors are producing a squealing sound, clean them with rubbing alcohol or denatured alcohol, and check the pad alignment of your brake pads. Remove any embedded grit from rim brake pads or just have them replaced.
When re-installing accessories on the bike, apply a bit of grease to attaching bolts. For metal frames and seatposts, remove the seatpost, clean it and the inside of the seat-tube, then apply a coating of grease inside the seat tube. Doing so makes it easy to adjust the seatpost, but it also prevents a chemical reaction between salt and the seatpost.
Finally, for nice steel frames, if you have the tools and know-how, you can remove the crankset and bottom bracket bearings and coat the inside of the frame tubes (especially lower frame tubes like the seat tube and the chain-stays) with JP Weigle Frame Saver or linseed oil, which prevents salty moisture from causing rust damage to the inside of the frame.
Use a syringe to squirt the rust-proofing inside the frame tubes, plus a repair stand so that the rust-proofing liquid spreads around the inside of the various frame tubes by changing the position of the bike in the stand (remove the wheels for this operation). Drain out excess frame-saver or linseed oil; it will leave a coating on the inside of the frame.
A bike shop can also rust-proof the inside of a steel frame if you don’t have the tools or knowledge to do this disassembly.
Your cables
Cables and cable housing also need to be maintained and lubricated during the winter. Salty water can get inside the cable housing (the section of tubing that the cables run inside) and rust non-stainless steel cables, or just cause the cables to dry up and get sticky. Newer bikes with housing that runs all the way from the brake/shift lever to the brakes and derailleurs may be less susceptible to this problem, as the cable is sealed for the entire length. For these bikes, it’s still a good idea to check the housing for damage that may allow water inside.
Many bikes use a system where bare cable runs along straight sections, with housing where the cable needs to make a turn around corners and curves. It’s the openings of this housing, where the cable enters and exits, where water can get in.
- To address this issue, first, create slack in the cable. For brakes, remove the wheels and/or release the cable’s “quick release.” Squeeze the brakes together and pull the housing out of the “housing stops” on the frame. For derailleurs, shift the chain to the largest cog or the largest chainring (don’t have the chain on both the large cog and large chainring at the same time–do each one separately), then use the shifter to release tension in the cable. Pull the housing out of the frame stops.
- Slide the housing, so that the cable that is normally inside the housing is exposed. Clean the cable (wiping it down with a rag and a bit of degreaser should do). Inspect the housing for damage, tears, and ends that are getting worn out. Inspect the cable for rust, kinks, loose wires, or fraying. Damaged cables and housing should be replaced (a bike shop can do this for you). If the cable and housing look good, coat the section of cable that normally stays inside the housing with some chain lube or spread a thin layer of grease. With some types of housing, you might be able to drip some chain lube into the housing.
- Slide the housing back and re-install into the frame stops. Re-install the wheels and close any brake cable “quick releases.” Shift the derailleur cable back into the position that matches the derailleur, so that the cable is taught.
- Enjoy your bike that now runs like a Swiss or Japanese watch.
TL;DR? Check out our Winter Cycling and Bike Maintenance 101 virtual class recordings on our YouTube channel!
Written by Bike New York’s Director of Education, Rich Conroy.